If you’re a Fitbit user who enjoys jamming out to YouTube Music during workouts or on the go, you might’ve noticed a little hiccup: Fitbit doesn’t natively support offline playback for YouTube Music. No worries, though—I’ve got a simple workaround for you using the awesome Macsome YouTube Music Downloader.
This handy tool lets you download your favorite YouTube Music tracks and transfer them to your Fitbit watch for offline listening, no internet required. Let’s walk through how to make it happen!
What You’ll Need
- A Fitbit watch (like the Versa series or Sense) that supports personal music storage.
- A computer (Mac or Windows).
- Macsome YouTube Music Downloader installed.
- The Fitbit app on your computer (Fitbit Connect for older models).
- A USB cable to connect your Fitbit to your computer (if needed).
- A YouTube Music account (free or Premium—it works with both!).
Step-by-Step Guide to Play YouTube Music on Fitbit Watch
Step 1: Download and Install Macsome YouTube Music Downloader
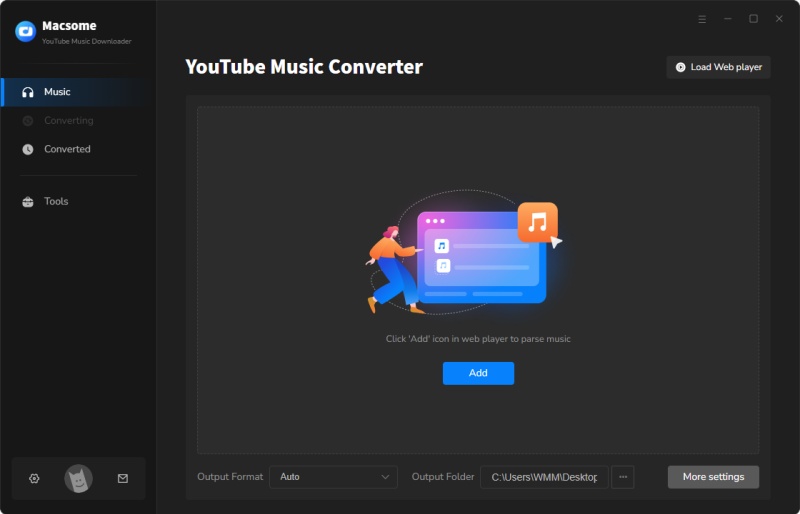
First things first, head over to the Macsome website and grab the latest version of their YouTube Music Downloader. It’s available for both Mac and Windows, so pick the one that matches your setup. Install it, launch the program, and sign into your YouTube Music account when prompted. You’ll see the YouTube Music web player pop up right in the app—pretty slick, right?
Step 2: Choose Your Music and Output Format
Browse your YouTube Music library within Macsome and pick the songs, playlists, or albums you want to take offline. Once you’ve got your selection, click the settings icon (usually in the bottom left corner). Here, you’ll want to set the output format to something Fitbit-friendly—MP3 or AAC are your best bets since Fitbit supports these. You can also tweak the quality if you’re picky about sound, but the default settings work great for most people.
Step 3: Download Your Tracks
Hit the “Click to add” button to load your chosen tracks into the conversion queue, then click “Convert” to start downloading. Macsome’s fast—up to 10x speed—so you won’t be waiting long. Once it’s done, head to the “Converted” tab to find your freshly downloaded files, complete with ID3 tags like song titles and artist names. They’re now regular audio files ready to move!
Step 4: Set Up Your Fitbit for Music Transfer
Now, let’s get those tunes onto your Fitbit. Open the Fitbit app on your computer (or download Fitbit Connect if you don’t have it). Make sure your Fitbit watch is charged and connected to the same Wi-Fi network as your computer. In the app, go to your device settings, find the “Music” or “Manage My Music” option, and get ready to transfer.
Step 5: Transfer Music to Your Fitbit
On your computer, drag the downloaded MP3 or AAC files into the Fitbit app’s music section—or use the “Add Music” option to locate them. On your Fitbit watch, open the Music app and tap “Transfer Music” (you might need to scroll to find it). Follow the prompts, and let the app sync the files over Wi-Fi. This might take a few minutes depending on how many songs you’re moving, so grab a coffee and let it do its thing.
Step 6: Enjoy YouTube Music Offline on Your Fitbit
Once the transfer’s complete, disconnect your Fitbit, pair it with your Bluetooth earbuds, and head to the Music app on your watch. You’ll see your downloaded tracks ready to play—no phone, no internet, just pure music freedom. Whether you’re running, lifting, or chilling, your YouTube Music faves are right there on your wrist.
Why Macsome Rocks for This
Macsome YouTube Music Downloader is a total lifesaver because it works for both free and Premium YouTube Music users, and it skips all the restrictions of the official app. You get high-quality downloads, fast conversion, and the flexibility to move your music anywhere. Plus, it’s super user-friendly—I had no trouble figuring it out, and I’m betting you won’t either!